We all know product photography is important, but why? Is it worth spending precious time and money on high-quality photos for your ecommerce site?
The answer is a resounding yes, especially considering the power of DIY product photography.
When someone visits your ecommerce store, you’re asking them to give you their money in exchange for a product they’ve never seen or touched before. That’s a big ask, especially if they don’t have any prior experience with your brand or products.
Great photography helps visitors experience your product and brand visually, leading them toward a purchase. Thankfully, you don’t need to expend tons of resources hiring a professional. DIY product photography is a great place to start.
DIY Product Photography Essentials
You need two types of photos on your ecommerce site: lifestyle photos and product photos. You can capture both through DIY product photography.
Lifestyle Photos
Lifestyle photos help visitors connect with your products and brand emotionally. These photos show your products in context, so site visitors can better imagine what their lives will look like once they own your product.
To capture gorgeous lifestyle photos for your site using DIY product photography:
- Plan carefully. Spend time brainstorming how to communicate your brand’s values through these photos. If your product isn’t apparel, think outside the box.
- Recruit models. Consider recruiting friends or family members who fit your target demographic.
- Scout interesting locations. Make sure they align with your brand’s image. For example, a kitchen isn’t ideal for showcasing pool noodles.
- Practice your photography skills. The better the photos turn out, the easier it will be for visitors to imagine your products in use.
Product Photos
Product photos clearly show all your product’s details from different angles. DIY product photography can excel here.
Gorgeous product photos are simple and clean. Here’s how to achieve this with DIY product photography:
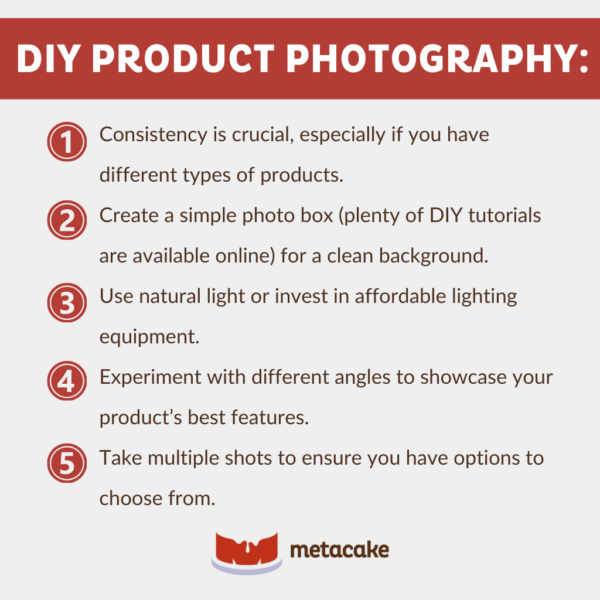
- Consistency is crucial, especially if you have different types of products.
- Create a simple photo box (plenty of DIY tutorials are available online) for a clean background.
- Use natural light or invest in affordable lighting equipment.
- Experiment with different angles to showcase your product’s best features.
- Take multiple shots to ensure you have options to choose from.
DIY Product Photography vs. Professional Services
While professional services exist, they can be expensive. DIY product photography is a cost-effective alternative. With practice and the right setup, you can achieve professional-looking results to display on your website at a fraction of the cost.

Post-Production in DIY Product Photography
Some people think they can turn a mediocre photo into a stellar one with Photoshop. But for the best DIY product photography results, don’t rely heavily on touchups.
Take the best photos you can and use post-production to enhance what’s already great. Avoid using post-production to fix major flaws or to superimpose products on people.
DIY Product Photography: The Bottom Line
Ecommerce success hinges on great product photography, whether professional or DIY.
By mastering DIY product photography techniques, you can create high-quality, low-cost images that showcase your products and connect with your audience. Practice makes perfect, so don’t be afraid to experiment and refine your DIY product photography skills over time.

