Are checklists loads of fun? No. But do they work? ABSOLUTELY.
Checklists prevent failure. Checklists save lives.
Here’s the proof. Implementing checklists in eight hospitals led to an average reduction in complications of 36% and cut deaths by almost half. (Yes, you read that right…cut deaths IN HALF).
Migrating Your Ecommerce Store
When dealing with something like migrating your ecommerce website from one platform (like Magento or Salesforce Commerce Cloud) to Shopify Plus you’re dealing with a long, intense process; A process that needs to come off without a hitch.
As a side note, if you’re interested in learning more about the pros and cons of Shopify plus, check out some of the articles below where we dig into that in depth:
The Ultimate Shopify Plus Review
Shopify Plus vs BigCommerce Enterprise
Magento vs Shopify Plus
Also, if you are migrating from Magento to Shopify Plus, checkout our step-by-step guide as well.
We handle migrations and re-platforms for large complex brands over to Shopify Plus all the time. Here’s the checklist we use every time. This should be used as a baseline and edited for your specific situation.
There are inherent risks in migrating your ecommerce store to a different platform, including a drop in conversion rate, 404 errors, and organic traffic loss. So, here is our internal checklist to minimize these risks.
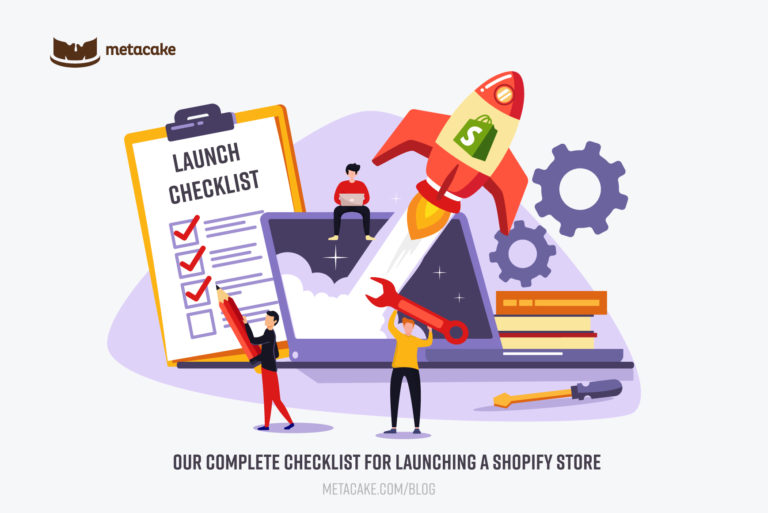
The Shopify Store Launch Checklist
1. Review domain and server settings
- Pay attention to email setup. Most importantly, make sure to account for email settings when transitioning records over to the new store.
- Set up domains and redirects for all variations of your URL to the primary URL
- https://domainname.com (primary domain)
- http://domainname.com
- https://www.domainname.com
- http://www.domainname.com
2. Browser and device testing
- Test site functionality. Also, review design across all widely-used browsers and devices.
- Standard cross-browser compatibility
- Mobile cross-browser compatibility
- IE 8/9, Safari 4/5, Chrome, Opera 11, Firefox 10-12
3. Install Google Analytics and connect Google Search Console
- Verify Google Analytics is added
- Definitely enable advanced ecommerce (within Shopify and within your Google Analytics account)
- Add site & site-map to Google Search Console
- Also, link Google Search Console to your Google Analytics account
4. Analyze search performance
- Setup redirects for top indexed pages to comparable content on the new site
- Add site titles and meta descriptions for key pages
5. Review Shopify settings prior to launch
- Shopify payment settings
- Ensure payment gateway setup is complete
- Ensure test mode is off
- Shopify business settings
- Make sure site admin email and customer service email are correct
- Review general business information (name, address, phone)
- Shopify shipping settings
- Set up shipping rates for domestic and international orders (if applicable)
- Shopify tax settings
- Ensure all of your physical locations are accounted for within tax settings
- Click through and review each page on the site
- Check all links to ensure there are no missing links
- Check all header and footer links, and make sure social media accounts are linked correctly
- Pay particular attention to product pages to ensure all product data and variants are displayed correctly
- Review inventory
- Review checkout process
- Complete various test orders to ensure checkout is working correctly (including shipping and taxes)
- Ensure Shopify paid plan chosen and active
- Test all forms and other functionality
- Make sure contact us forms are submitted correctly to your admin email address
- Check 404 page
- Verify search is working
- Verify SEO data is complete
- Set page title and meta description for site in preferences
- Set for pages and products on each individual page/product admin
- Ensure privacy policy and terms of service are published on your site and added to the legal settings in Shopify admin
- Review all installed apps to ensure setup is complete
- Make sure you’ve added a favicon within the theme editor
- Remove the store password
Take this list and modify it for your own situation. You may have more apps or other integrations, for example, that need to be included as well.
Post-Launch
Once you launch we’d recommend analyzing store performance over the first few days to ensure no other bugs or issues arise. Do this before blasting out your new store announcement to your full audience and running ads. We call this a soft-launch. A soft-launch will allow you to “quietly” go live and address issues that come up. Furthermore, this will limit your liability that may be attached to full-blown launch campaigns.
It is also a good idea to include a message to your customers, either in a popup or in the hello bar, to welcome customers to your new site experience. This will eliminate any confusion that returning customers may have when they see an unfamiliar homepage for the first time!
What if Your Sales Are Down?
It’s not uncommon for conversion rate and sales to dip a bit in the first few days of a new site. Depending on your audience, the change may cause current customers to be disoriented for a small period of time. Obviously, monitor this carefully and be sure nothing else is going on, but don’t jump ship solely based on a few days of lower sales. Stay the course, and optimize.
How Do You Mitigate These Risks?
Great analytics with accurate data and a strong conversion rate optimization program will give you all the tools you need in order to monitor, address, and optimize your new site no matter what’s happening.